Winner Winner Chicken Lunch
 I couldn't think of a clever preamble to this recipe. I considered referencing Food, Inc. and the terror of chickens it instilled in me. Then, I considered a reference to the amazing Jacques Pépin, his apparent love of chicken, and the recently released Jacques Pépin: The Art of Craft from the American Masters series.But, you know what? This is simple food. Let's give it a simple post. Fuck it.
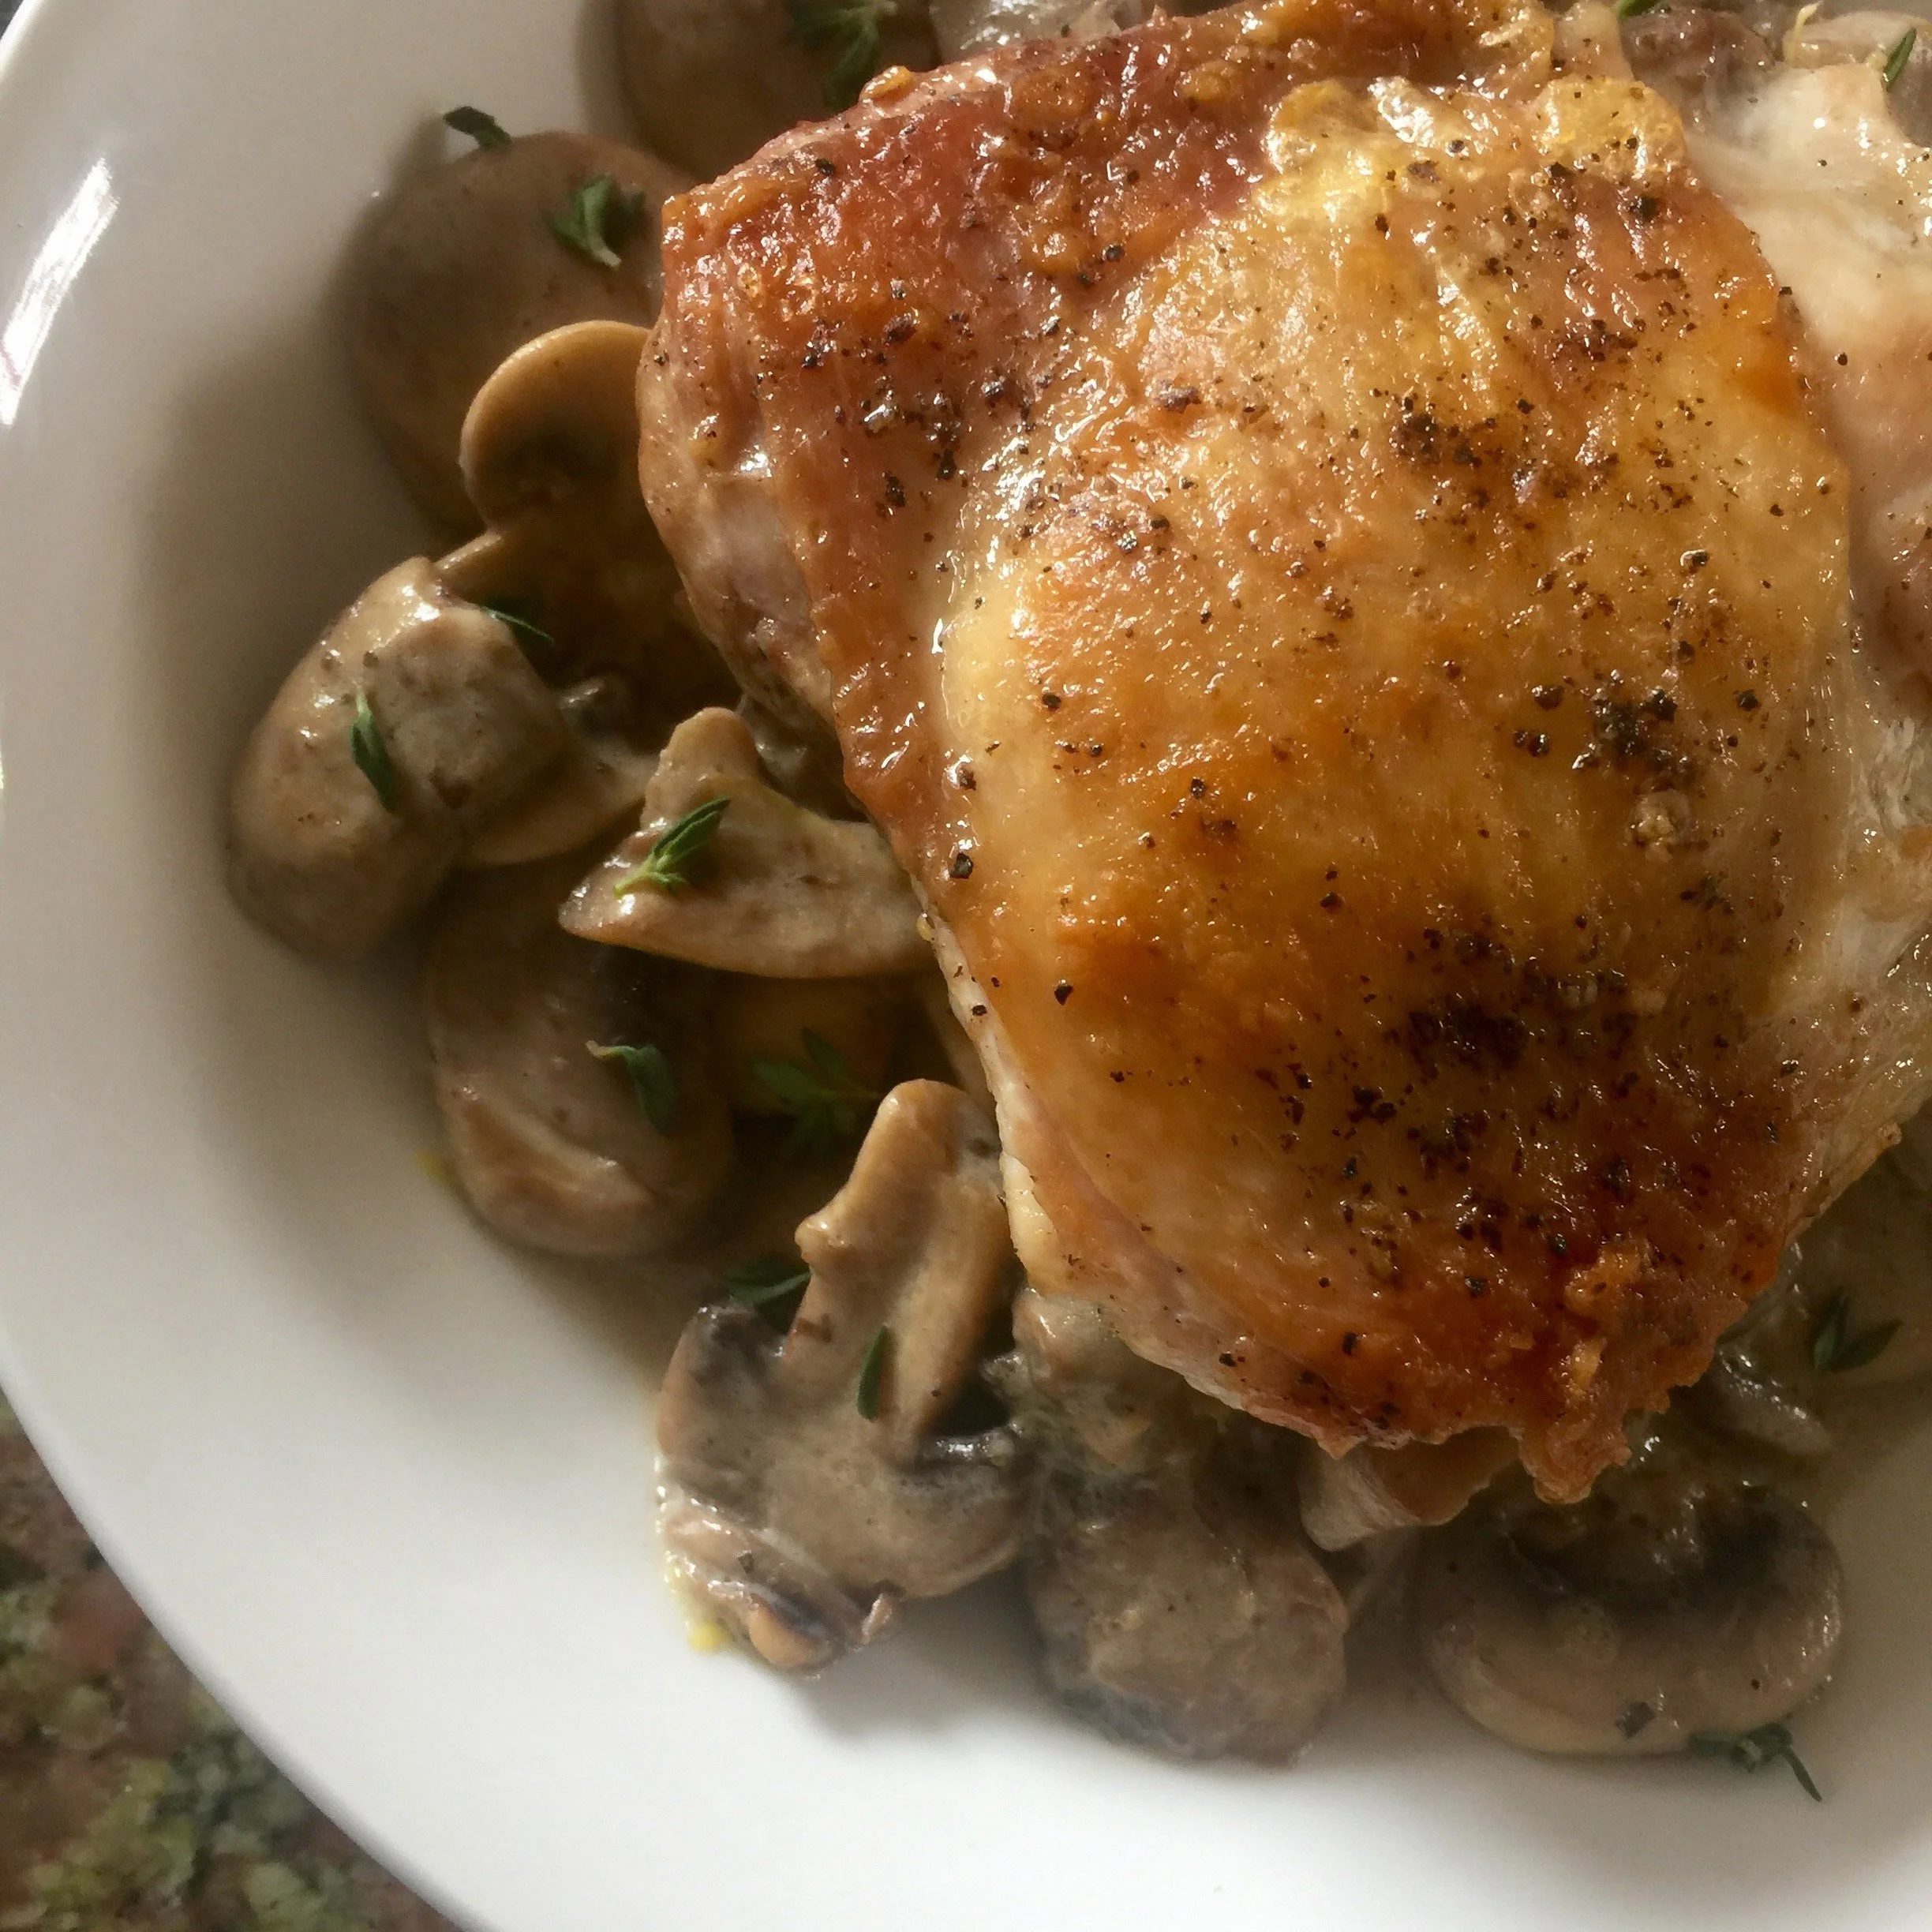
Pan-Fried Chicken Thigh on Mushrooms à la Crème
Ingredients
- 1 chicken thigh, skin and bone intact
- 1 cup white mushrooms, cleaned and sliced
- 1 Tbsp., crème fraîche
- 1 tsp., freshly squeezed lemon juice
- 1 tsp., fresh thyme leaves
- .5 tsp., fresh lemon zest
- salt and pepper to taste
Instructions
- Preheat your oven to 175 degrees Fahrenheit.
- Prepare your chicken thigh. Place the thigh, skin-side down on a cutting surface. With a knife, cut slits along either side of the thigh bone. This will help the meat cook more evenly/quickly by exposing more of its surface to heat.
- Season the thigh on both sides with salt and pepper.
- Place the thigh skin-side down in an unheated nonstick pan, then turn the heat to high. Do not add heat until the meat is in the pan!
- When you hear the thigh begin to sizzle, reduce the heat to medium, cover the pan, and continue cooking for about 15-18 minutes.
- Check your meat. Make sure it's not sticking to the pan. If the skin's browning too quickly, reduce the heat to low, recover, and continue to cook.
- Once cooked, transfer the chicken to a heat-safe dish and pop it into your preheated oven to keep warm while you cook the mushrooms.
- On the stove, turn the heat up to high and add mushrooms to the pan, sautéeing in the rendered chicken fat. Season with salt and pepper.
- Once mushrooms are tender, stir in crème fraîche, lemon juice, and lemon zest until mushrooms are well coated and the mixture is heated through.
- Before plating, sprinkle mushrooms with some fresh thyme and top with your chicken thigh.
- Nom away!
Nutritional Info
Pan-Fried Chicken Thigh (about 4oz):
- Calories: 260
- Fat: 16g
- Protein: 28g
- Carbs: 0g
- Dietary Fiber: 0g
Mushrooms à la Crème:
- Calories: 185
- Fat: 18g
- Protein: 2g
- Carbs: 4g
- Dietary Fiber: 1g
Notes
- How can you tell the chicken is cooked? If you have a meat thermometer, look for an internal temperature of 165°F. Otherwise, you can generally tell that the meat is cooked when its juices run clear, rather than red (tinged with blood).
- You can definitely cook more than one chicken thigh at once. I'm just using the one here because 1) my fiancé is a vegetarian and particularly hates even the smell of chicken and 2) the best part about this dish is the crispy skin! I prefer to cook only what I'll eat immediately, so the skin remains crisp, as opposed to soggy after storing and reheating.
- Our friend Deb just suggested using a metal colander to cover the chicken while it's cooking on the stove. This will allow some of the moisture to dissipate, preventing soggy skin!
Ooh, how about some pics?


Enjoy!
 Despite all the benefits this keto lifestyle has provided, goddammit do I miss baked goods.So, this weekend, I tried my hand at two different baked goods – one savory, one sweet. The verdict? Maybe keto baking isn't for me. :(Still, I took some pictures and thought I'd share my failure all the same.First up, a savory coconut flour biscuit based loosely off


 You ever buy a bunch of vegetables thinking: "Oh, man. I'm going to eat so healthy! Vegetables are amazing and I am a person who eats them!" and then a week later you still have mounds of untouched broccoli and cauliflower in your fridge?Well, here's a soup you can make with that untouched broccoli and cauliflower. Hell, you might even go to the store and just pick some up – this nonsense is pretty fucking tasty. (Though all the heavy cream may have something to do with it, but, whatever: #ketolife, ya'll.)Here's what you'll need and how to put it all together...